
If you have a blank wall screaming out for something interesting to do with it, see below for step-by-step instructions to create a gallery wall!

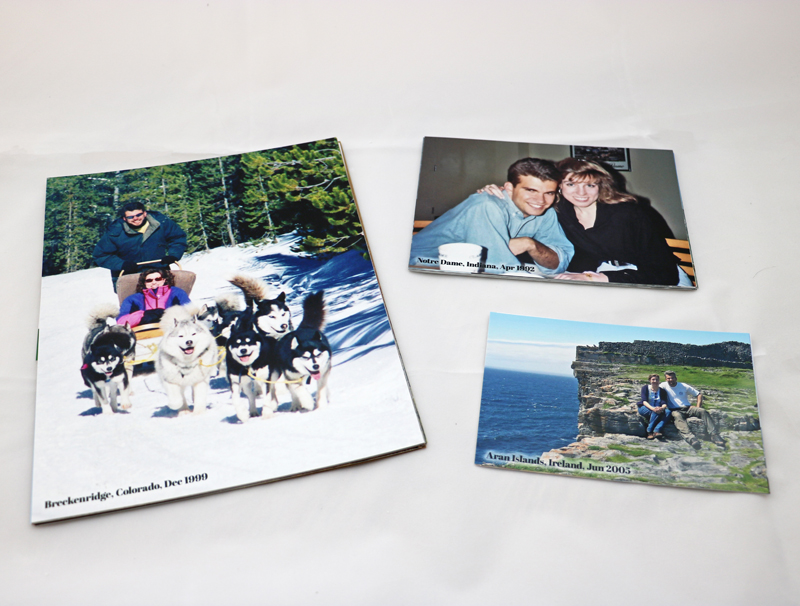
Choose Your Theme: Once you have decided on a place for your gallery wall, you need to choose a theme for your photos. The possibilities are endless, but here are some suggestions: birthdays, holidays, celebrations, hobbies, etc.! Since my husband and I are close to celebrating our 25 year anniversary, I chose “couple” photos of us over the years for my new gallery wall.
Frame Layout: Once you have decided “where” and “what” you want to display, you need to figure out “how”! Measure your space, then either create a layout yourself (I use Photoshop) or get ideas from others (google “gallery wall ideas”). I like to use inexpensive 8×10, 5×7 and 4×6 thin black photo frames and create a layout around those sizes.

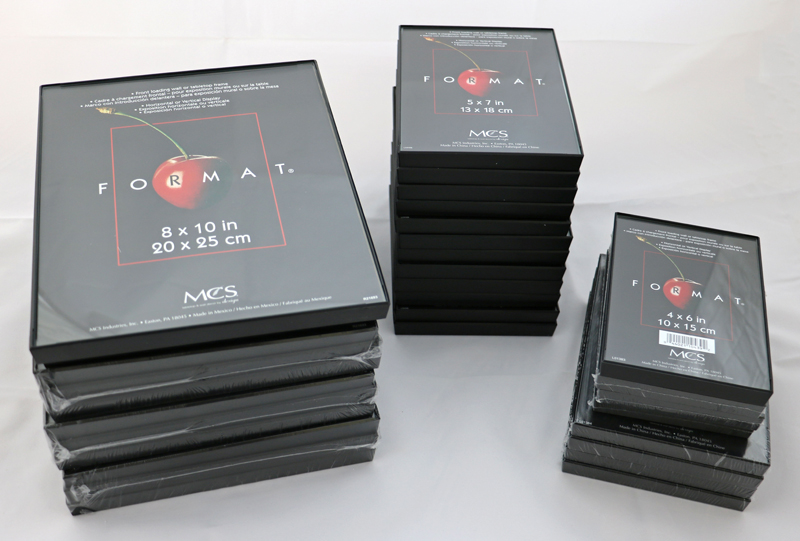
Choosing Photos: Probably the most fun (and possibly the hardest) part of putting together a gallery wall is choosing the actual photos that will go in each 4×6, 5×7, and 8×10 slot. The nice thing about creating a layout in Photoshop (or a similar program) is that you can try out lots of different combinations of photos before committing to printing anything. Once you have made final decisions, you can order prints and frames!

Placing Photos: Once you have decided on your photos and sizes, print them out on plain paper in the correct sizes, cut them out, then place them on your wall using masking tape. This lets you play around with placement and make sure you like your choices before you put any holes in your walls!

Create Templates: The easiest way to put up your frames is to create templates for each size of photo, then use those templates to put the nails in the correct places for each photo. You can just use the cardboard or extra paper included in the frames, then turn the frame over and mark a dot where the nail would go for each size frame (both horizontally and vertically).

Finish Your Wall: The last step is using your templates to put up the nails, then you can hang your frames. Just put a template over each taped-on photo, tap the nail a couple of times, remove the template and taped-on photo, finish putting in the nail, then hang the frame!

Once you have done that for all your frames, your gallery wall is finished! Congratulations!

One thought on “#EnjoyYourPhotos: Gallery Walls”